What Are the Fundamental Concepts and Process Principles Behind Two-Shot Plastic Molds?
Defining the technology
At its simplest, this is a single mold that injects two different materials or two colors in one continuous cycle. The finished part comes out with both materials already bonded—no secondary assembly, no gluing, no post-molding snap-fits.
How the rotating platen changes everything
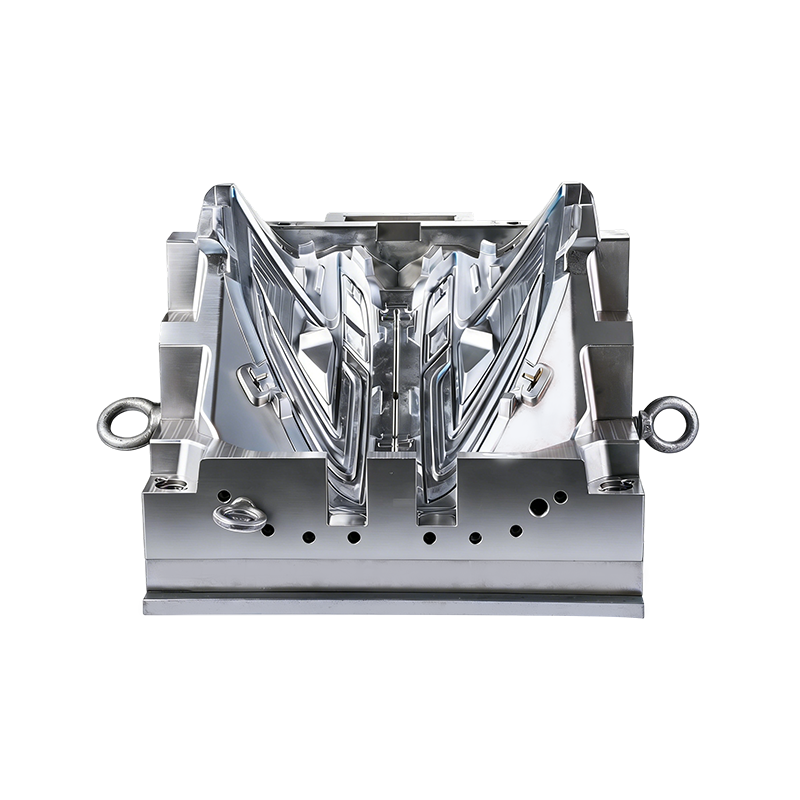
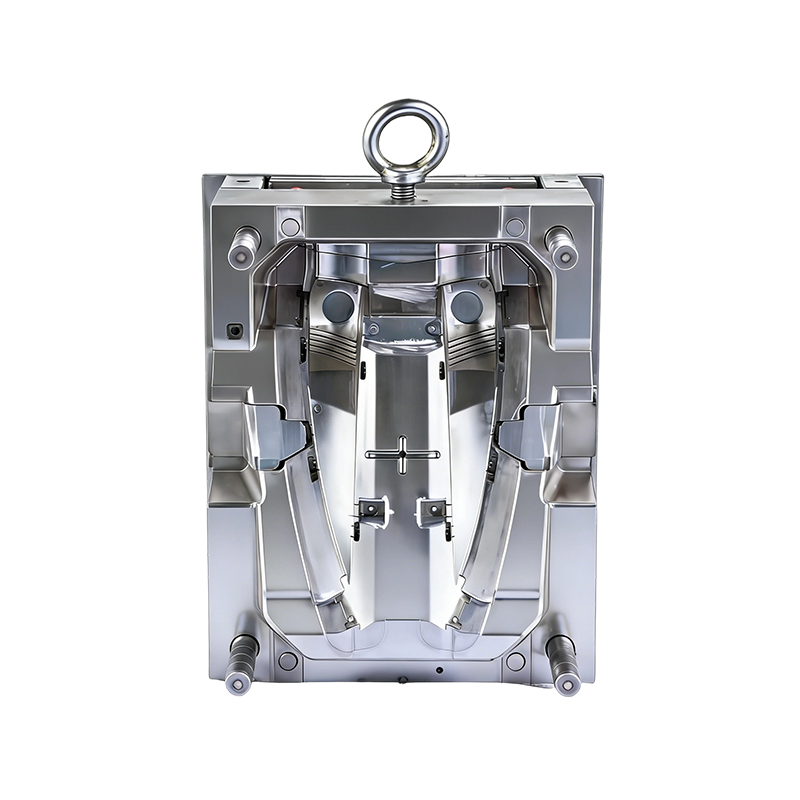
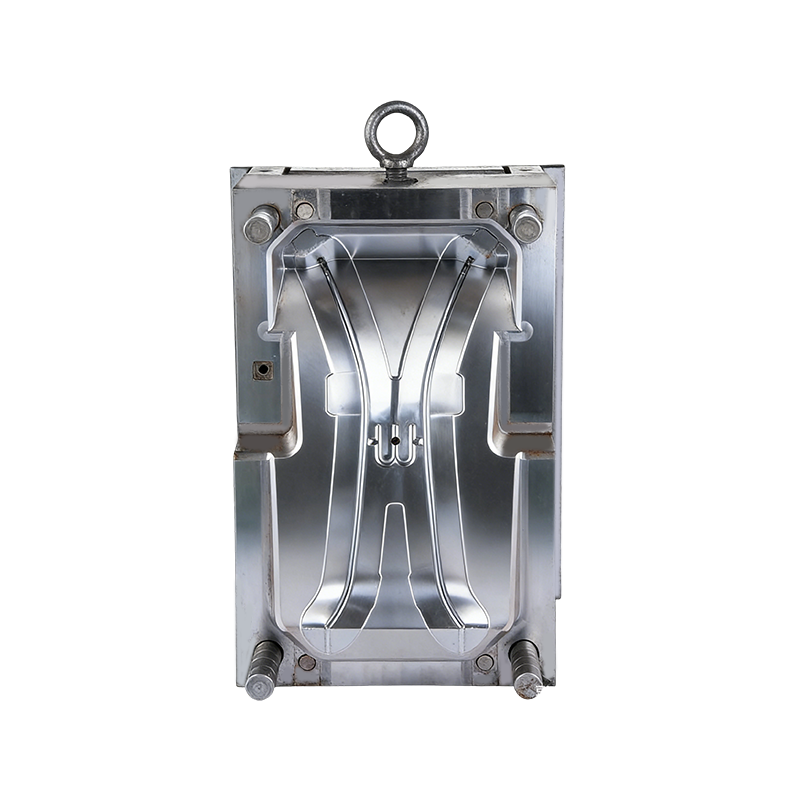
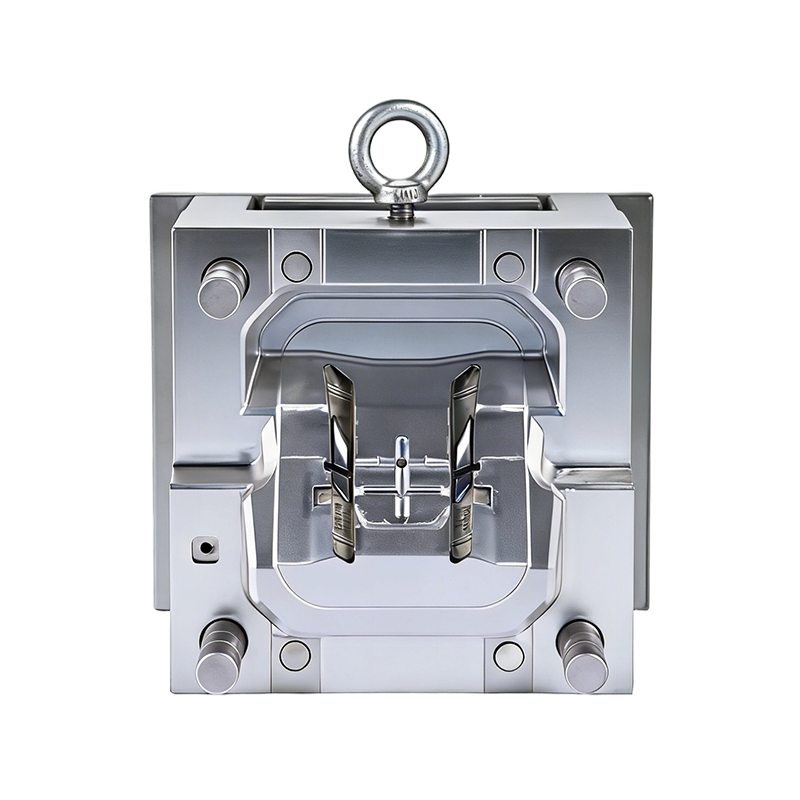
The working principle revolves around a rotating or index-plate on the moving half of the mold. Here is how a typical cycle runs. The mold closes, and the first shot injects the base material—say, a rigid polycarbonate for a power tool handle. After a short cooling pause, the mold opens just enough to break the seal. The moving half then rotates 180 degrees, carrying the first-shot part with it. The mold closes again, and now the second shot injects a different material—perhaps a soft TPE for a grip overlay—into the empty cavities on the other side. The second material flows over and bonds to the first part. After another cooling stage, the mold opens fully, and the finished two-material part is ejected.
Why two-shot beats overmolding in most cases
The older method, called insert overmolding, requires an operator to manually place a first-shot part into a second mold. That introduces two problems. First, positional variation—operators rarely place parts within 0.1 millimeters of the ideal location. Second, the first-shot part cools completely before the second shot, so the bond between materials relies entirely on mechanical interlock rather than molecular fusion. Two-shot molding solves both issues. The first material is still warm when the second material arrives, allowing true chemical bonding at the interface.
A real comparison from the shop floor
The insert overmolding line produced 180 parts per hour with a 4.2 percent reject rate due to misaligned inserts. The two-shot mold, running on a rotary press, produced 320 parts per hour with a 0.7 percent reject rate. The two-shot mold cost 40 percent more upfront. It paid for itself in seven months.
How Are Materials Selected for Three-Shot Plastic Molds, and What Are the Key Compatibility Considerations?
When two shots are not enough
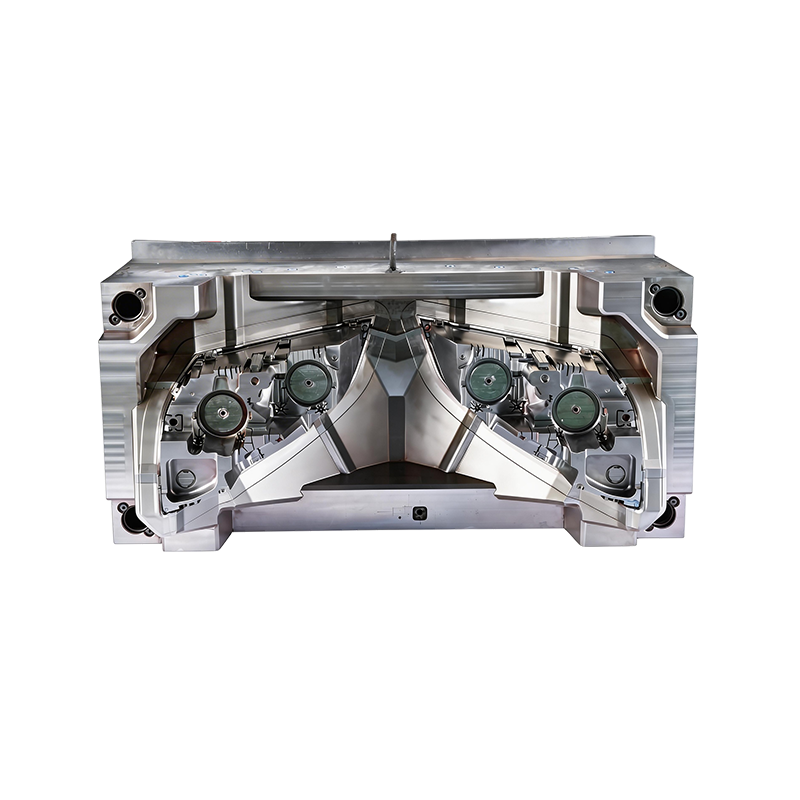
Some applications push beyond two materials. A Three-Shot Plastic Mold might be the right answer for a car interior light assembly that needs a clear lens, a black housing, and a soft-touch sealing ring all in one part. But adding a third shot multiplies the material compatibility challenges exponentially.
The golden rule of compatibility
Material selection for three-shot molding starts with one non-negotiable principle: the melting temperature of each subsequent shot must not degrade the previously shot materials. If you inject a high-temperature nylon as your third shot, it will melt or distort the lower-temperature TPE from your second shot. That is not an exaggeration—it happens regularly on prototype runs.
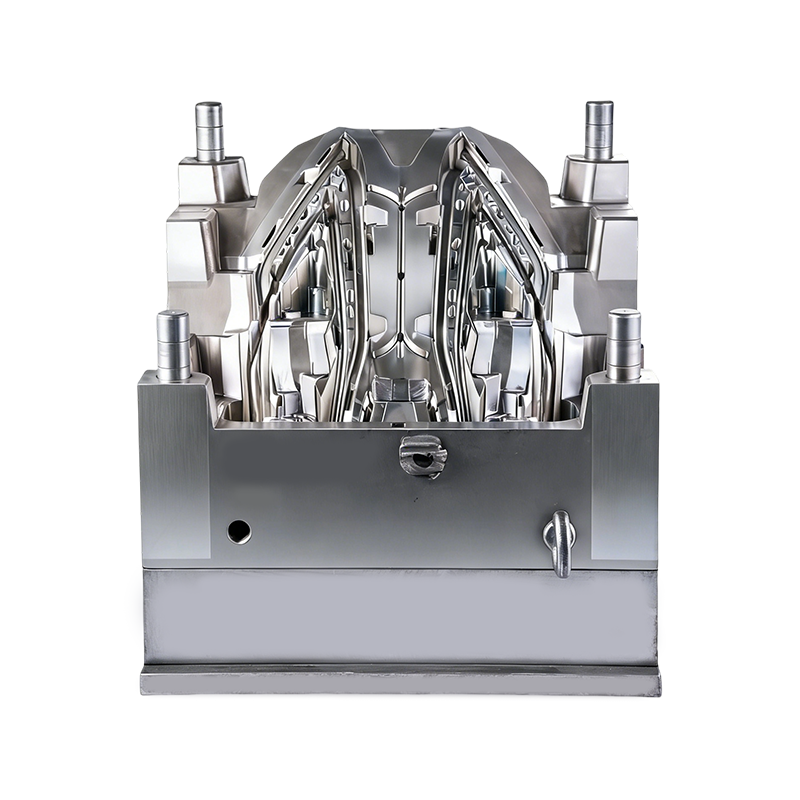
The first shot uses the highest melting temperature material, typically a polycarbonate or nylon. That material sets the structural foundation. The second shot uses an intermediate-temperature material like ABS or a modified PBT. The third shot uses the lowest melting temperature material, almost always a TPE or TPU for soft-touch or sealing functions. This descending temperature ladder ensures that each new shot flows against a substrate that remains solid.
Chemical and thermal compatibility checks
Beyond melt temperature, three-shot molds require pairwise compatibility testing. A common failure mode involves plasticizers migrating from a soft TPE into a neighboring ABS layer. Over time—sometimes just a few hundred thermal cycles—the ABS becomes brittle and cracks. The fix is to specify a TPE grade specifically formulated for overmolding onto ABS, such as a styrenic block copolymer rather than a polyester-based TPE.
Another pitfall involves adhesion promoters. Some material pairs will not bond chemically no matter how well you sequence temperatures. PC and silicone rubber is a classic example. Without a primer or a plasma surface treatment applied inside the mold, the silicone will peel off like a sticker. For three-shot molds, applying an in-mold treatment is rarely practical.
A cautionary tale
The PC and PMMA seemed compatible on paper. In production, the PMMA shot caused stress cracking in the PC substrate because the two materials had different coefficients of thermal expansion. The PC contracted faster during cooling, pulling away from the PMMA and creating visible micro-cracks. The solution required switching the first shot to a PC/PMMA blend with matched expansion behavior. The lesson? Always run a thermal cycling test on a simple two-shot coupon before committing to the full three-shot tool.
Doubling output without doubling press size
A Stack Plastic Mold solves a problem that every high-volume manufacturer faces. You have a 500-ton press, but your 16-cavity mold already fills the platen. You need more output, but you cannot afford a larger press or a second machine. The stack mold answers this by adding a second parting line and a second set of cavities stacked in the middle.
The mechanical layout explained
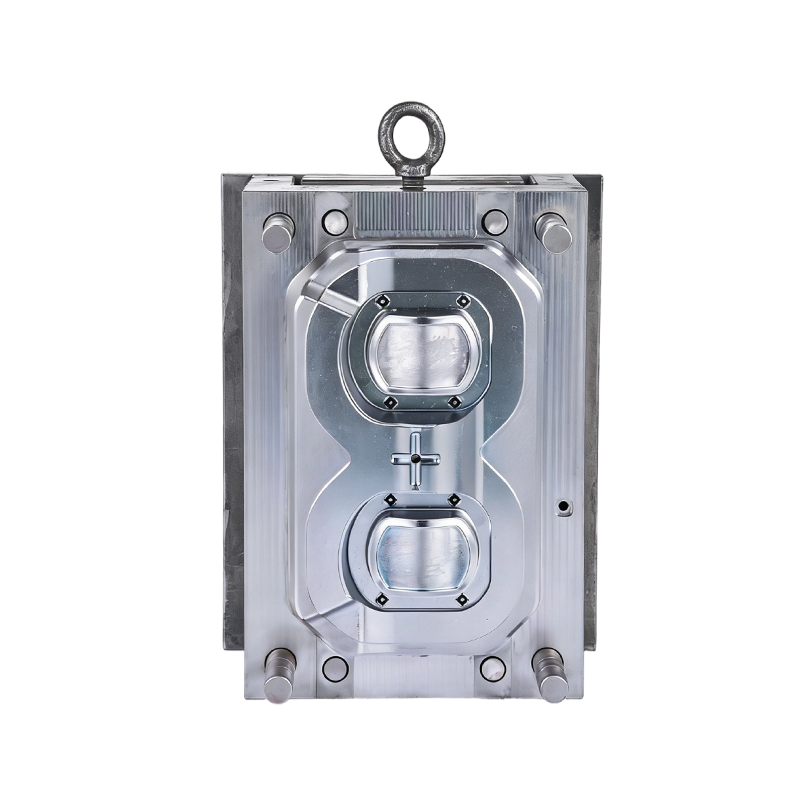
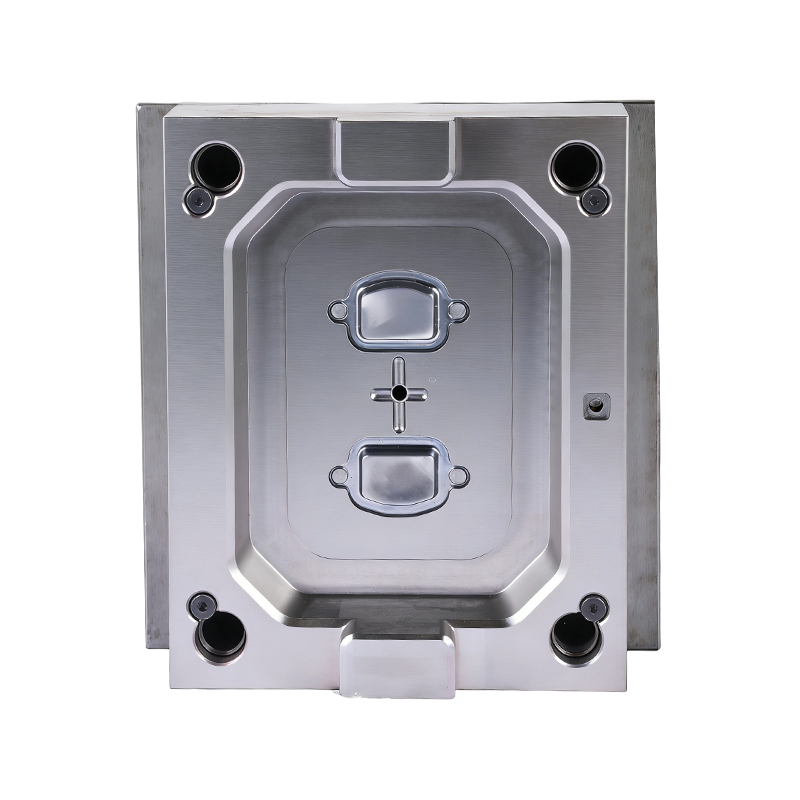
Imagine a standard mold with an A side (stationary) and a B side (moving). Now insert a floating center block between them. This center block carries cavities on both faces. When the mold closes, you actually have two parting lines. The A side closes against one face of the center block, forming one set of cavities. The center block's other face closes against the B side, forming a second set of cavities. One injection unit feeds both sets through a special hot runner system that passes through the center block.
How ejection and part handling work
The tricky part is opening and ejecting. When the mold opens, the center block must move with the B side for the first part of the stroke, then stop while the B side continues back. This synchronized motion uses rack-and-pinion or geared linkages. Once fully open, the A side and the center block have their own ejector systems, so parts drop from both parting lines simultaneously.
Why stack molds are not for everyone
The benefits are obvious: you get twice as many parts per cycle without increasing clamp tonnage. A 16-cavity stack mold produces the same output as a 32-cavity conventional mold but fits on a press half the size. The drawbacks are equally real. Stack molds cost 120 to 150 percent more than a standard mold of the same cavity count. They require precise center block alignment within 0.02 millimeters. And the hot runner system is considerably more complex, with more seals and more leak risks.
Where stack molds make economic sense
High-volume, low-complexity parts like thin-wall containers, lids, and caps are the sweet spot. Cycle time is 3.8 seconds. Output is 3,800 lids per hour from a 250-ton press. A conventional 4-cavity mold on the same press would produce roughly half that many because the clamp would need to open wider and move slower. The stack mold paid for itself in eleven months and has run for six years without major service. For complex parts with deep draws or intricate cores, however, most shops stick with conventional molds. The alignment and ejection challenges on a stack mold multiply with part complexity, and the maintenance headaches often erase the output gains.


 English
  عربى
عربى