Solving the Trifecta of Defects: Material Choice, Warping Control, and Large-Mold Stability in Automotive Injection Molding
Under the hood, heat resistance rules everything. PA6-GF30 – that is nylon with 30 percent glass fiber – shows up everywhere: thermostat housings, engine covers, and intake manifolds. It handles continuous temperatures up to 150 degrees Celsius without softening. But there is a catch. Nylon absorbs moisture from the air like a sponge. If you do not dry it properly before molding, you will see surface splay and brittle parts. For even higher heat, PA66-GF35 pushes the limit to 180°C, though it costs more.
Moving to exterior body panels, PC/ABS blends are the go-to. Why? They combine the impact resistance of polycarbonate with the flowability of ABS. That makes them ideal for mirror housings, tail light bezels, and pillar trims that need to survive a hailstorm or a parking lot bump. Paint adhesion on PC/ABS is excellent, which matters for color-matched parts.
Interior components tell a different story. Polypropylene with talc filler dominates dashboards, door panels, and glove boxes. Talc adds stiffness without making the part brittle, and polypropylene flows easily into long, thin walls. It is also cheap – roughly half the cost of PC/ABS per kilogram. For clips, levers, and gears, POM (acetal) is the silent workhorse. It lubricates itself, wears slowly, and snaps without breaking. Finally, PMMA (acrylic) handles clear light covers and lens applications where transparency and UV resistance matter.
Each family of plastics shrinks differently. Semi-crystalline materials like PA66 and POM pull back hard – anywhere from 1.5 to 2.5 percent. Amorphous plastics like PC/ABS and PMMA shrink less than 0.6 percent. That difference is precisely what triggers warping, shrinkage voids, and sink marks when you switch materials without adjusting the mold design.
Auto Parts Plastic Injection Molds – How to Prevent Warping, Shrinkage, and Sink Marks?
Now that we know which plastics move where, let us answer the second practical question: auto parts plastic injection molds – how to prevent warping, shrinkage, and sink marks? These three defects share a common root cause: uneven cooling and poor packing. But each requires a slightly different fix.
Warping happens when one section of a molded part cools and crystallizes faster than the neighboring section. Imagine a long door trim panel. If the middle cools last while the ends freeze early, the part will twist like a potato chip. To stop warping, start with wall thickness consistency. Engineers use a simple rule: ribs and bosses should never exceed 60 percent of the nominal wall thickness. If your main wall is 2.5 millimeters, keep ribs under 1.5 millimeters. Next, look at your cooling circuit layout. Conformal cooling – where channels follow the part’s contour – reduces temperature variation dramatically. Many shops still use straight-drilled channels, which leave hot spots near corners. Switching to 3D-printed conformal inserts cuts warp by 30 to 50 percent.
Shrinkage is different. All plastics contract as they cool, but the real problem is uneven shrinkage across the part. Packing pressure is your primary weapon. Hold pressure must stay active until the gate freezes solid. For a medium-sized glove box door, that means 10 to 15 seconds of hold time at 70 to 80 percent of injection pressure. If you release too early, the core will pull back and leave voids.
Sink marks appear directly opposite internal ribs, bosses, or thick sections. The plastic shrinks around the dense feature, leaving a shallow dip on the Class-A surface. Fixing sink marks often requires a trade-off. You can reduce the rib’s root thickness, add gas assist injection, or switch to a low-shrinkage grade like PBT. Many process technicians discover a counterintuitive trick by accident: lowering melt temperature by 10 degrees Celsius while raising mold temperature by 15 degrees. This slows down skin formation and allows more time for packing to feed the thick zone.
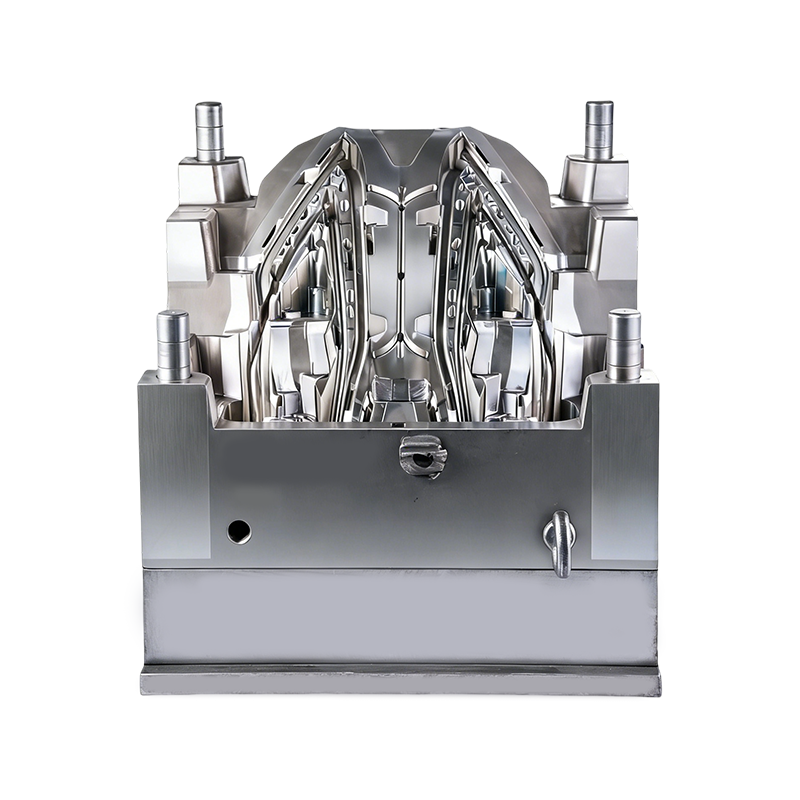
Scaling up to large automotive molds introduces problems that simply do not exist on small connectors. Think instrument panels that span 1.5 meters, liftgates, or bumper fascias. The question becomes: large automotive molds – how to avoid injection molding defects? Let me share two real cases from the shop floor.
- First case: an SUV tailgate inner panel made of long-glass-fiber polypropylene. The part kept showing ugly tiger striping – alternating glossy and matte bands near the gate. The team tried faster injection. No improvement. Slower injection. Worse. The fix came from a two-stage fill profile: fast first stage to get the melt across the thin rib field, then a slow second stage just before full fill. This reduced shear heating and let the glass fibers align more randomly. Tiger stripes disappeared.
- Second case: an EV battery enclosure cover measuring 1.2 meters end to end. The part warped by 4 millimeters – outside the acceptable 1.5 millimeter flatness spec. Thermal imaging revealed a 25-degree Celsius difference between the center and the edges. The engineers installed beryllium-copper inserts near the hot spots. Beryllium copper conducts heat five times better than standard P20 mold steel. Cycle time dropped by 18 percent, and warp fell to 0.9 millimeters.
- For large molds, always place vents at every flow front endpoint. Hesitation marks form when the melt slows down in thick sections while thin ribs fill nearby. The solution is to gate closer to the thick area. Also, avoid unbalanced cavity spacing in hot runner systems – it is the fastest path to short shots and underfilled ends.
Process vs. Design vs. Material Fixes for Defects
Finally, here is a comparison framework for deciding which lever to pull first when defects appear.
Process tweaks are the cheapest to try because they do not require mold modifications. Slowing fill speed, increasing pack pressure, or adjusting mold temperature often fixes mild warping and sink marks. The trade-off? Cycle time creeps up by 5 to 10 percent, which hurts daily output.
Design changes cost more upfront because they require machining or welding on the mold. But they are permanent. Uniform wall thickness, generous rib radii, and conformal cooling channels eliminate defects without slowing cycle times. If you run the same mold for three years, design changes pay for themselves in scrap reduction alone.
Material substitution falls in between. Switching from standard PP to a low-shrinkage PP copolymer may cost 15 to 30 percent more per kilogram. But if that switch eliminates 80 percent of your sink mark rejects, the math works. A real example: a HVAC duct molder moved from neat PA6 to PA6-GF15 (15 percent glass). Shrinkage dropped from 1.8 percent to 0.7 percent, and annual scrap fell by 12,000 parts.
For most automotive molders, the smart sequence is: process first, then material, then design. But when warping comes from structural asymmetry, design changes are the only real cure. Process adjustments alone rarely fix a part that was doomed by poor cooling layout from day one.


 English
  عربى
عربى